
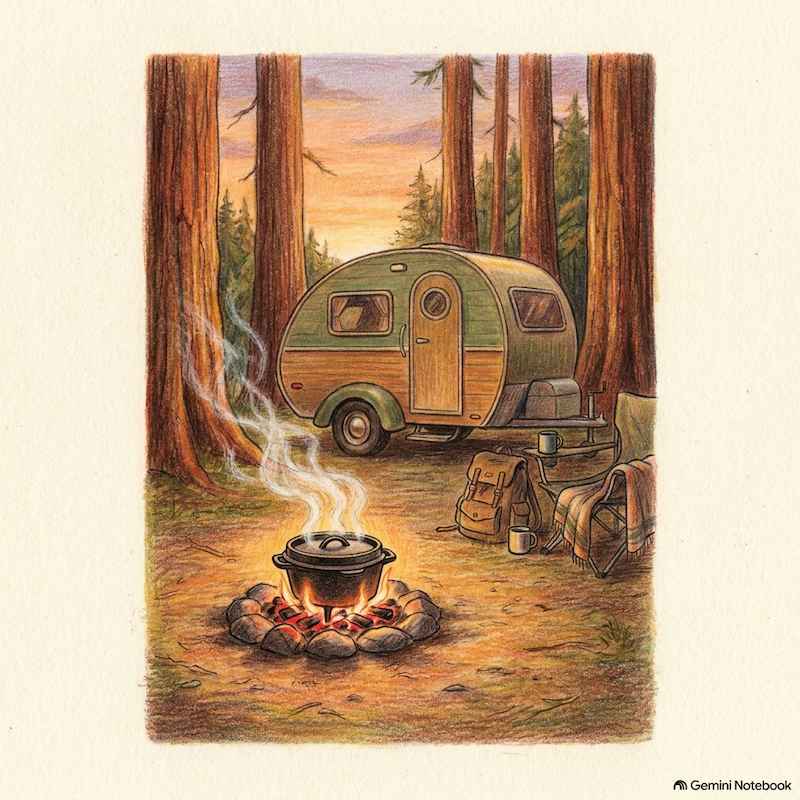
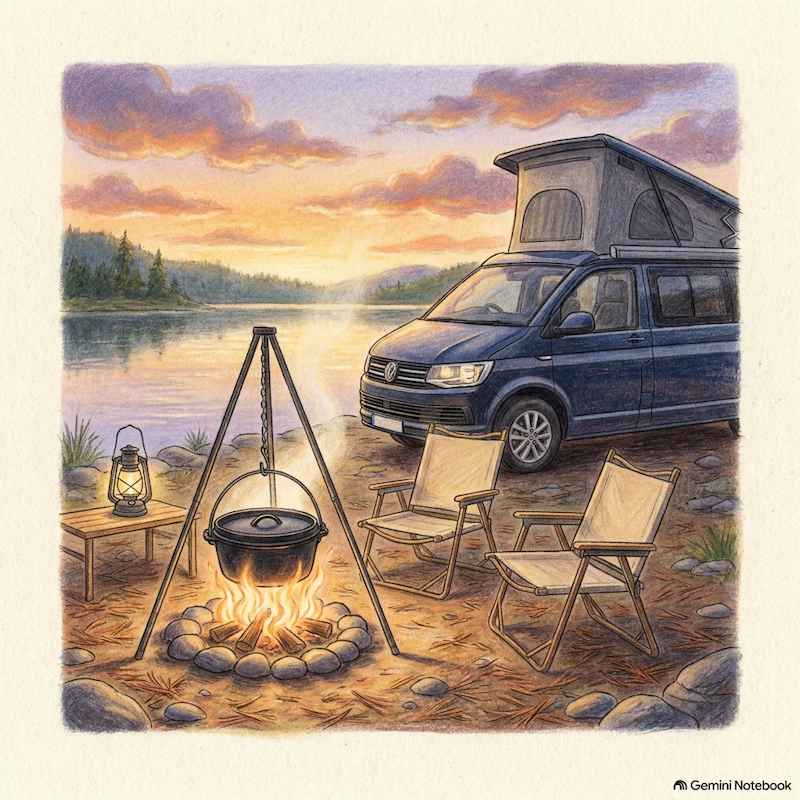
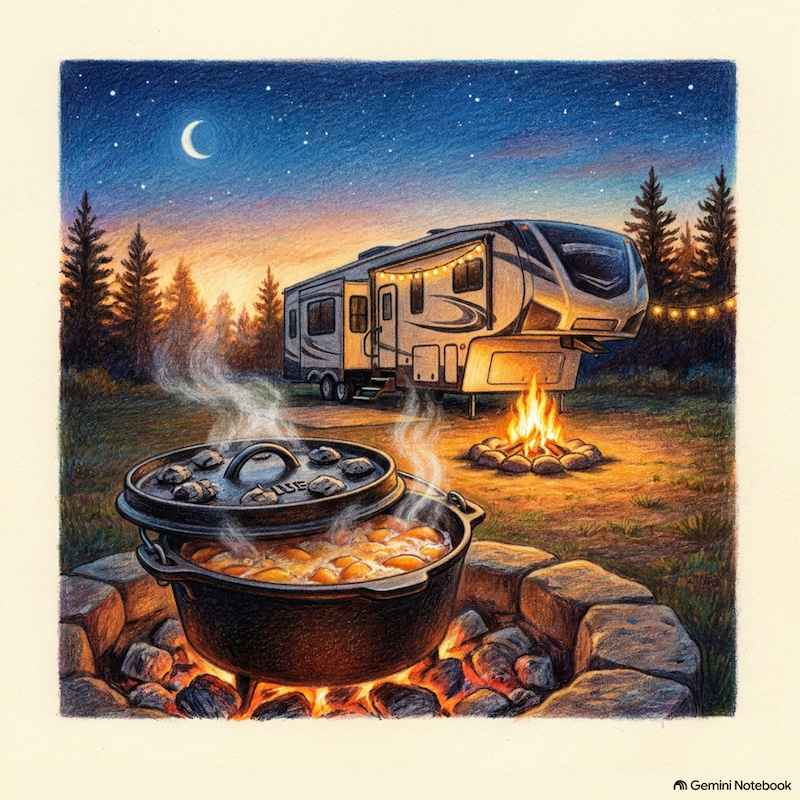
Mastering cast iron campfire cooking turns any RV campsite into a gourmet outdoor kitchen. Many campers struggle with burned bottoms or raw centers because they cook over open flames with thin, lightweight pans. Choosing a genuine cast iron Dutch oven gives you the thick walls and steady heat retention needed to tame hot coals. Even better, cast iron is the only cookware that improves with age, building a natural non-stick surface over years of travel. (📅 Last Updated: November 4, 2026 | Reviewed by Aaron, Owner & Designer)
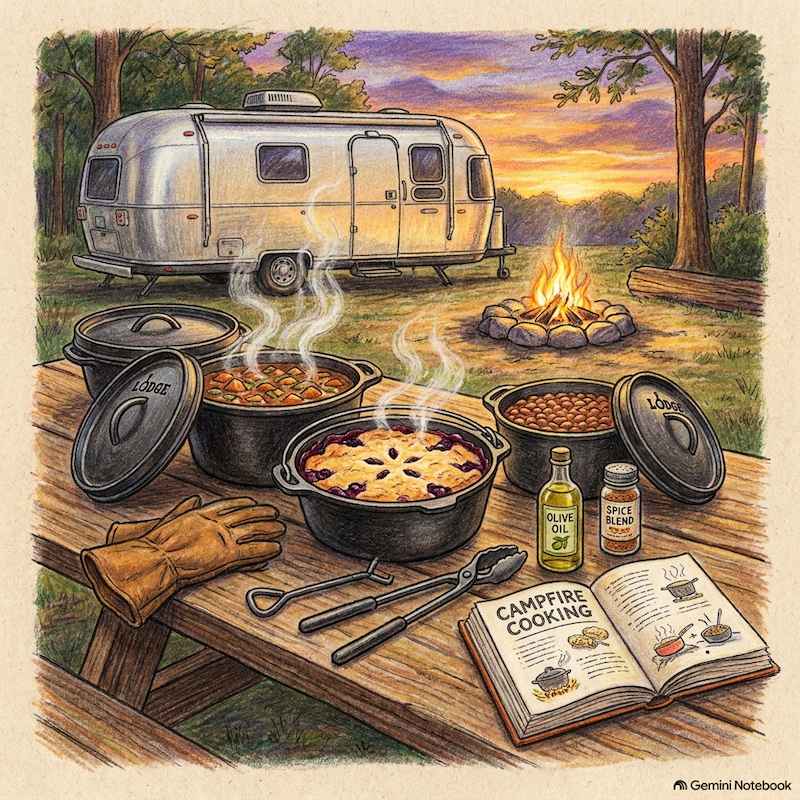
Instead of packing delicate kitchen gadgets that warp over a fire ring, choose outdoor cooking gear built for the real world. RVers who know your struggles design and curate our complete campfire bundles. A heavy-duty Lodge camp oven acts as an all-in-one kitchen so you can bake, fry, roast, and stew in a single pot. Below, our 2026 guide walks you through the exact coal counts and care steps for cast iron campfire cooking success.
Why Cast Iron Campfire Cooking Rules the Campground
Standard kitchen pots fail quickly when exposed to hot embers. Thick cast iron spreads heat evenly across the pot and lid, stopping the hot spots that scorch dinner. When you are boondocking miles from the nearest town, you need Dutch oven cookware that works every single time. A USA-made Lodge camp oven handles high heat and decades of travel in your RV storage bay.
Selecting the Right Dutch Oven Kit for the Trail
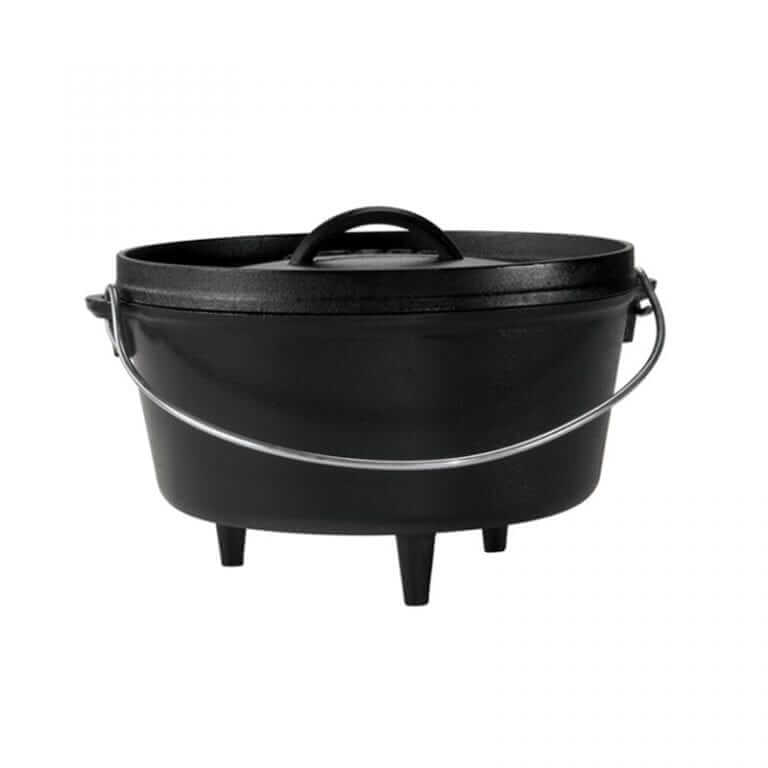
Successful cast iron campfire cooking requires purpose-built outdoor features. Unlike flat-bottomed indoor pots, an authentic Lodge Camp Dutch Oven includes three legs on the base and a flat, flanged lid:
- Three Integral Legs: Hold the pot above glowing charcoal briquettes without crushing them, keeping airflow steady underneath.
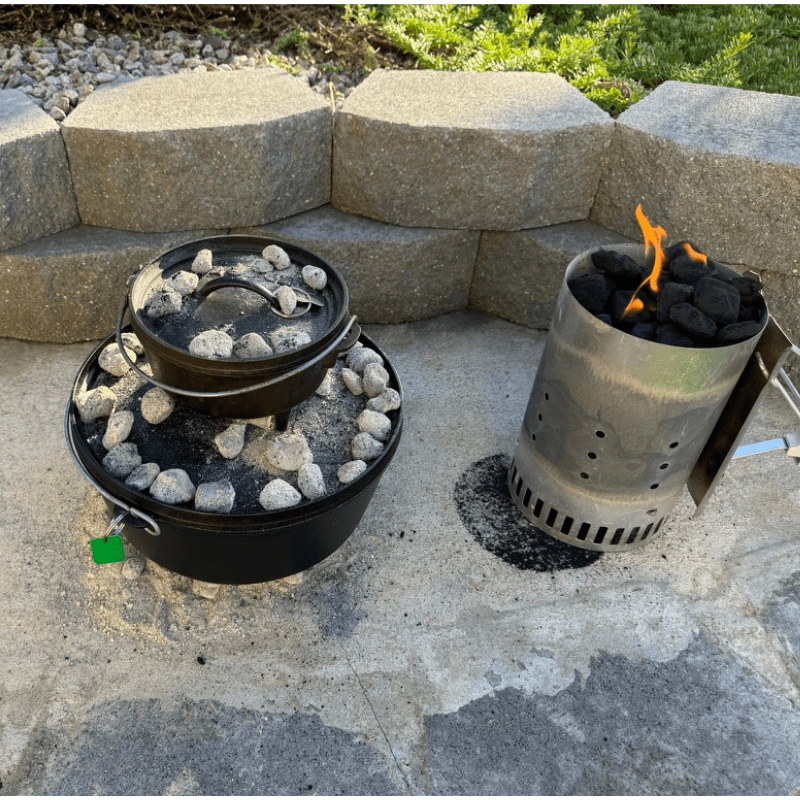
- Flanged Coal Lid: Holds hot briquettes securely on top for true 360-degree convection baking and keeps ash from falling into your food. Flip it upside down over the coals to fry bacon and eggs on a flat skillet!
- Sized for Every Crew: Choose our 2-Quart Solo Kit or 4-Quart Dinner for Two Kit for small rigs, our 5-Quart Deep or 6-Quart Family Feast Kit for families, or our 8-Quart and 10-Quart Deep Kits for big group rallies.
-
Lodge Cast Iron Camp Dutch Oven Starter Kit
Price range: $119.99 through $199.99 -
Lodge 8″ RV Campfire Dutch Oven Kit | The “Solo Adventurer & Side Dish Companion” Essentials Set (2 Qt)
Original price was: $126.85.$104.95Current price is: $104.95. -
Lodge 10″ RV Campfire Dutch Oven Kit | The “Dinner for Two” Essentials Set (4 Qt)
Original price was: $142.85.$114.95Current price is: $114.95. -
Lodge 10″ Deep RV Campfire Dutch Oven Kit | The “Dinner for Two + (Weekend Explorer)” Essentials Set (5 Qt Deep)
Original price was: $147.85.$124.95Current price is: $124.95. -
Lodge 12″ RV Campfire Dutch Oven Kit | The “The Family” Essentials Set (6 Qt)
Original price was: $161.85.$124.95Current price is: $124.95. -
Lodge 12″ Deep RV Campfire Dutch Oven Kit | The “The Family +” Essentials Set (8 Qt Deep)
Original price was: $184.85.$139.95Current price is: $139.95. -
Lodge 14″ Deep RV Campfire Dutch Oven Kit | The “All the Cousins” Essentials Set (10 Qt Deep)
Original price was: $206.85.$169.95Current price is: $169.95.
The Science of Heat Management in Cast Iron Campfire Cooking
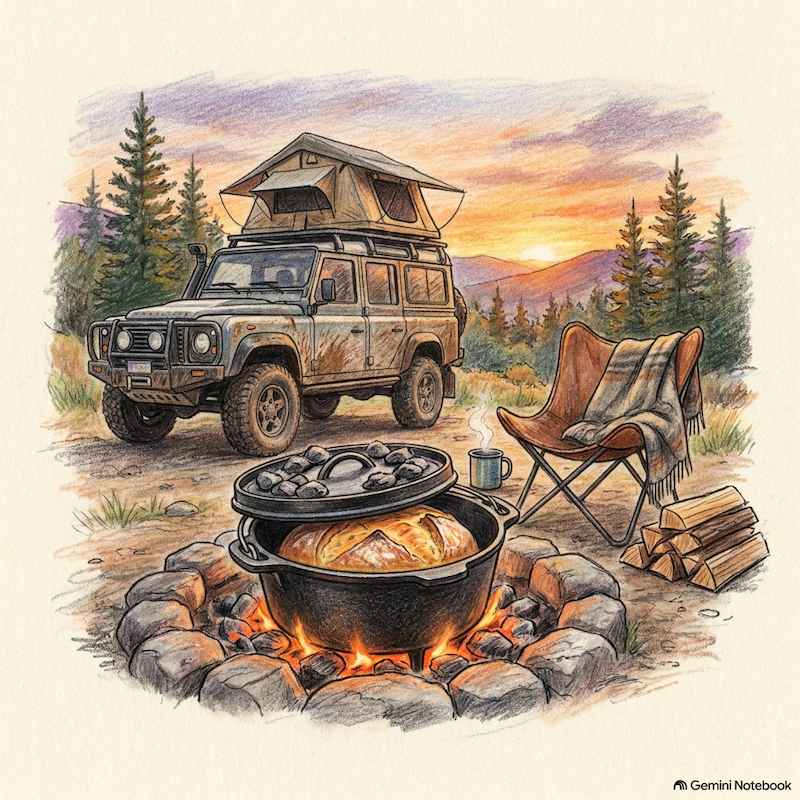
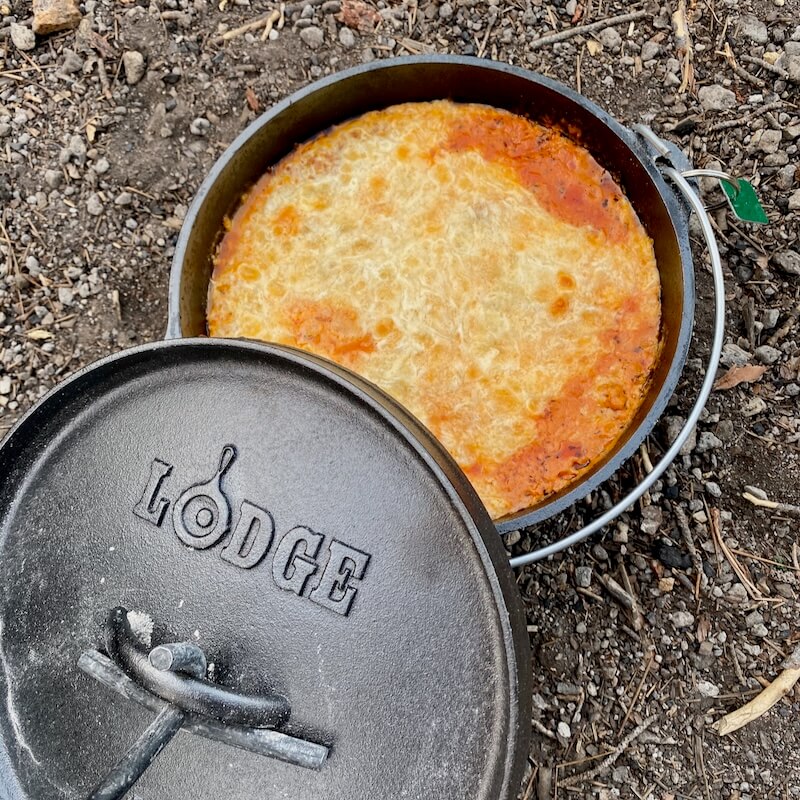
Predictable coal placement is the secret to baking cobblers, biscuits, and lasagna outdoors. Instead of guessing over raw wood flames, use quality charcoal briquettes. To hit a standard 350°F baking temperature, double the inch diameter of your pot in total briquettes, placing two-thirds on the lid and one-third underneath. For a 12-inch camp oven, use 24 total coals: 16 on top and 8 underneath. (Or use the classic “3-up/3-down” variation: 15 on top and 9 underneath).
12-Inch Dutch Oven Charcoal Temperature Chart
| Desired Temperature | Coals Needed (12″ Pot) | Top Coals (Lid) | Bottom Coals (Under) |
| 325°F (Slow Roast & Stews) | 21 Total | 14 Coals | 7 Coals |
| 350°F (Standard Baking) | 24 Total | 16 Coals | 8 Coals |
| 375°F (Bread & Cobblers) | 27 Total | 18 Coals | 9 Coals |
| 400°F (High-Heat Searing) | 30 Total | 20 Coals | 10 Coals |
How to Clean and Season Your Cast Iron After Campfire Cooking
Taking care of your pot after cast iron campfire cooking takes less than five minutes and keeps your seasoning slick for decades:
- Scrape and Rinse Warm: Lift the lid safely with a Lodge Lid Lifter. Once the pot cools slightly, scrape out food bits with warm water. Skip harsh dish soap and steel wool so you never strip your seasoning.
- Heat-Dry Completely: Never let cast iron air-dry. Set the rinsed pot back over warm coals or your RV stove for two minutes until every drop of moisture evaporates.
- Oil and Store: Rub a thin coat of vegetable or canola oil onto the warm iron, place a paper towel inside to absorb humidity, and zip it into your padded Lodge Tote Bag.




Cast Iron Campfire Cooking FAQs
Double the inch diameter of your Dutch oven to get the total number of briquettes, then place two-thirds on the lid and one-third underneath. A 12-inch camp oven takes 24 total coals (16 on top and 8 underneath) to bake at 350°F.
The three bottom legs hold the pot over glowing coals so airflow keeps them burning, while the raised lip on the flanged lid holds briquettes on top and stops ash from falling into your food when you lift the lid.
Keep only one-third of your coals underneath the pot when baking, and rotate the pot 90 degrees one way and the lid 90 degrees the opposite way every 15 minutes.
Our Lodge Cast Iron Camp Dutch Oven Starter Kit includes a genuine USA-made Lodge camp oven, padded storage tote, steel lid lifter, and campfire cookbook.
Start Creating Unforgettable Campfire Memories Today
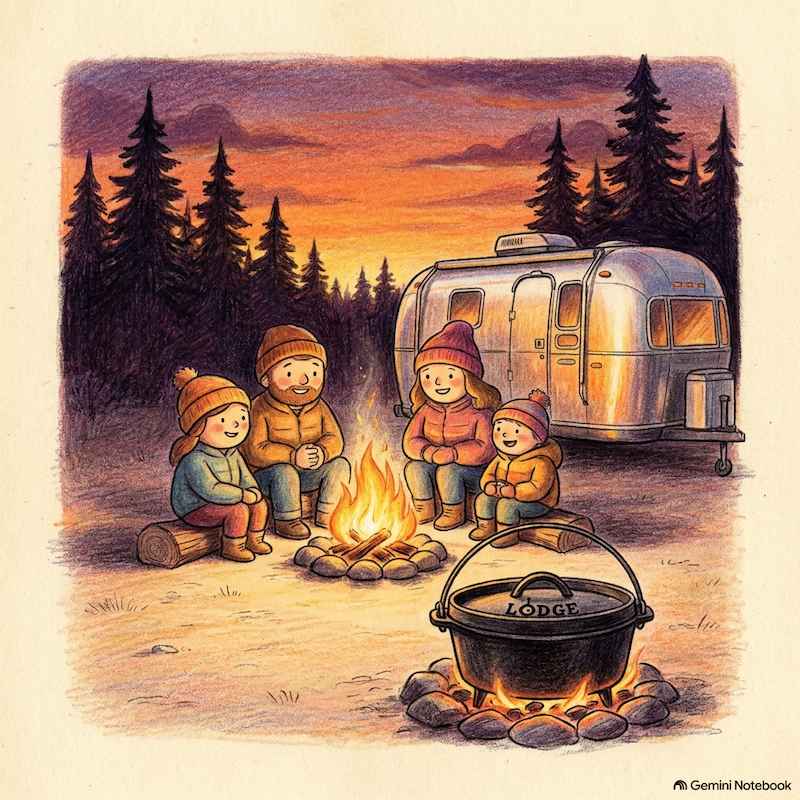
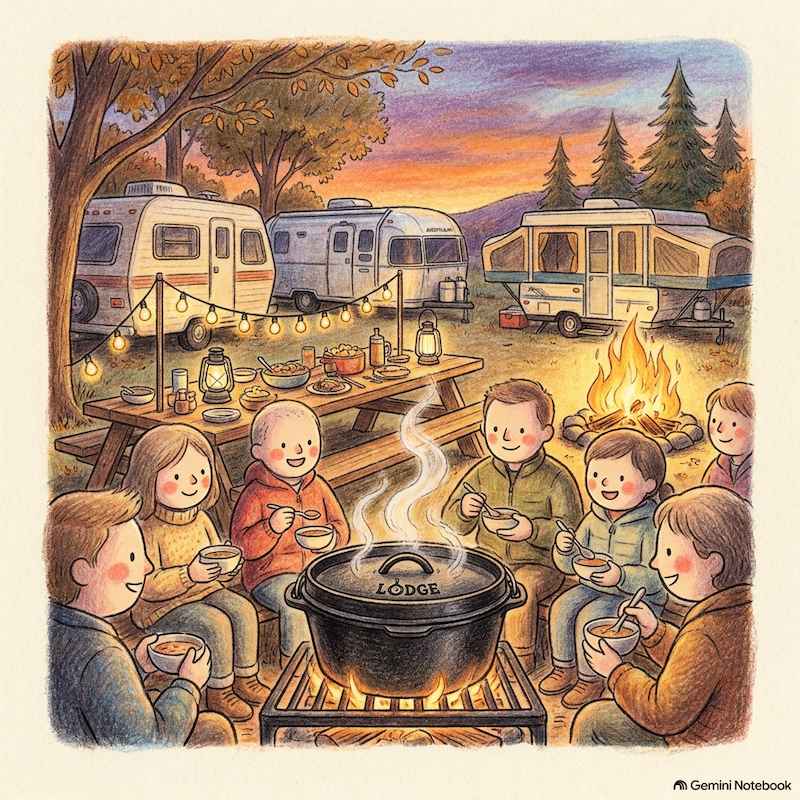
Gathering around a hot Dutch oven brings family and friends together after a long day on the trail, turning every RV trip into a cherished tradition. Order your complete Lodge Camp Dutch Oven Starter Kit from Hitched4fun.com today and enjoy cast iron campfire cooking built for a lifetime on the road.
Happy Camping!
Aaron M. Scullin Owner, Hitched4fun.com