A Beginner’s Guide to Choosing Your First Ham Radio Mast
Congratulations! You studied the theory, you passed the exam, and you now hold a General or Extra class amateur radio license. That is a huge accomplishment, and the entire world of HF radio is now open to you. But after the initial excitement, a common question arises: “What now?” Between passing the test and making your first distant contact (DX), there’s a critical, practical step: building your first station. Your radio and your antenna are key, but the unsung hero that brings it all together is the antenna mast.
Choosing the right mast can seem daunting, with endless options, technical jargon, and strong opinions. But it doesn’t have to be. This guide will walk you through everything a beginner needs to know to select the perfect mast, get on the air confidently, and start filling your logbook.
What types of amateur radio masts are suitable for beginners?
For beginners, the most suitable amateur radio masts are affordable, non-conductive, and easy to deploy. Telescoping fiberglass antenna masts are often the ideal choice because they are strong, lightweight, and don’t interfere with the antenna’s signal, making them a practical and effective solution for new ham radio operators.
What makes a good antenna mast?
Before we compare specific types, it’s important to understand the criteria. What should you even be looking for? A good antenna mast for a beginner excels in four key areas:
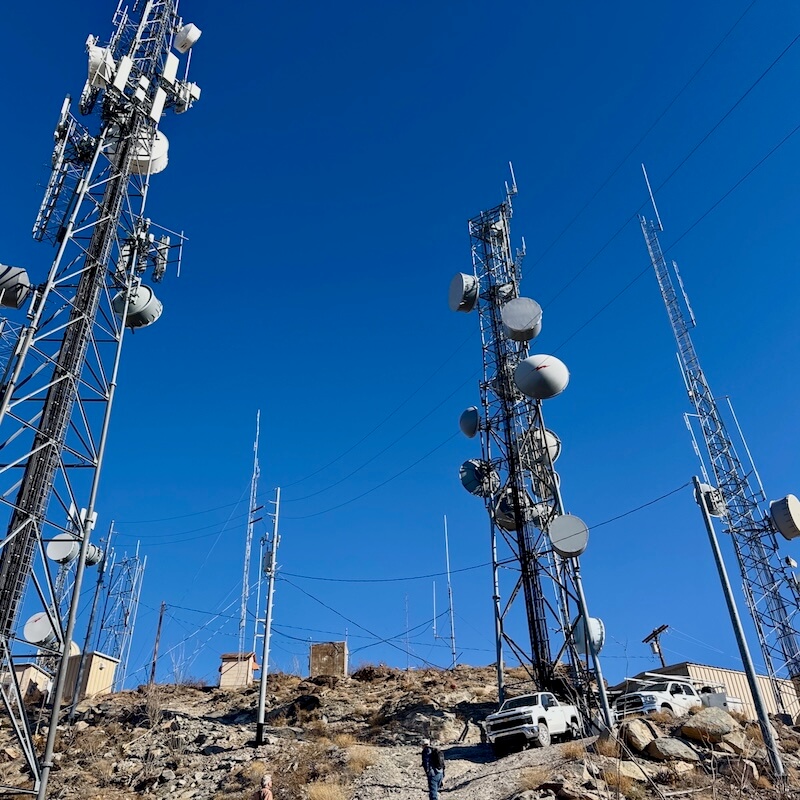
- Height: In amateur radio, especially on the HF bands, height is everything. Getting your antenna up high, clear of obstructions like your house, power lines, and nearby trees, is the single most effective thing you can do to improve its performance. For HF, more height helps create a lower “angle of radiation.” Think of it like skipping a stone across a lake: a low, shallow angle lets the stone skip for a long distance, while a high, steep angle makes it plop nearby. A lower angle of radiation allows your radio signal to skip off the ionosphere and travel much farther around the globe.
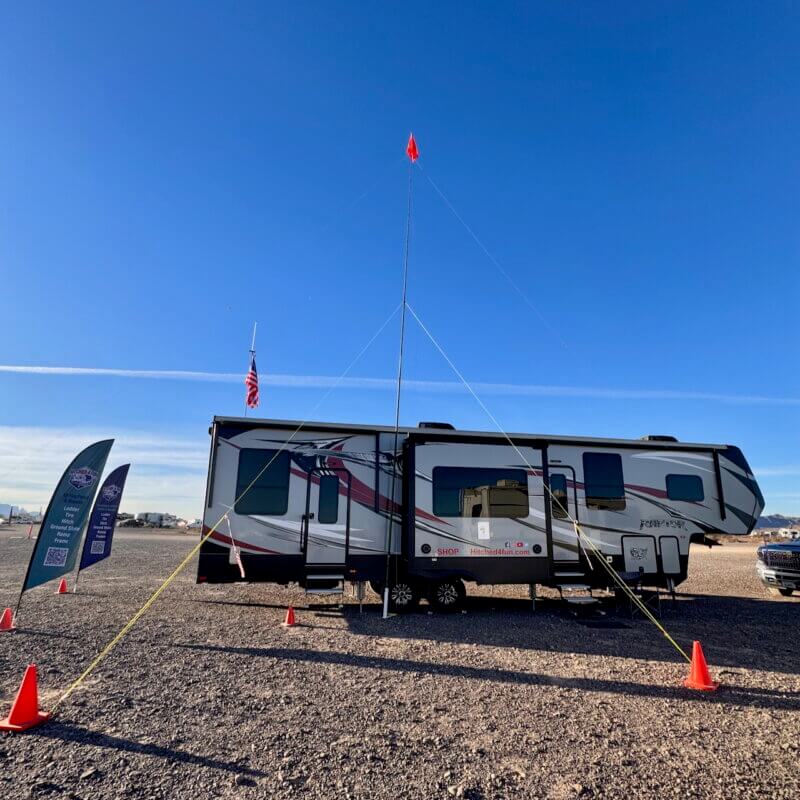
- Strength: Your mast needs to be strong enough to support your chosen antenna (like a wire dipole or a small vertical) and, just as importantly, withstand the wind. This is often referred to as “wind load.” A flimsy mast that bends like a fishing rod in a breeze or snaps in a storm is a waste of money and a safety hazard. For taller masts, this also means considering the ability to attach “guy ropes“—support lines that run from the mast to anchor points on the ground to provide stability.
- Material: The material your mast is made from has a huge impact on performance and practicality. The most important factor is conductivity. A metal mast is conductive, which means it can electrically interact with your antenna’s radiating field. This can detune your antenna (messing up its SWR) and unpredictably alter its radiation pattern, sending your signal in directions you don’t intend. A non-conductive material like fiberglass is electrically “invisible” and allows your antenna to perform exactly as it was designed.
- Ease of Use: As a beginner, you don’t want a mast that requires a construction crew or a permanent concrete base. You need something you can set up yourself. Portability is a huge plus. The ham radio hobby is full of exciting activities outside your home, like the annual club Field Day, or programs like Parks on the Air (POTA) and Summits on the Air (SOTA). A lightweight, telescoping mast that fits in your car opens up a world of adventure.
Choosing the Right Height: 20, 30, or 40 Feet?
One of the most common questions is, “How high do I really need to go?” The answer depends on your goals and space, but here’s a simple breakdown of the most common mast heights.
- 20-foot Masts: A 20 foot antenna mast is a solid starting point for VHF/UHF antennas or for very temporary or stealth HF setups where you need to keep a low profile. It gets your antenna above immediate ground-level clutter, but for making consistent HF contacts, you’ll likely find yourself wishing for more height.
- 30-foot Masts: This is the undisputed “sweet spot” for beginners. A 30′ telescoping antenna mast provides a significant performance jump. This height gets the center of a typical dipole well above a two-story house, drastically lowering your angle of radiation. With a 30-foot mast, cross-country contacts on bands like 20 and 40 meters become regular, and when band conditions are good, DX to Europe or Asia is very possible. It is the perfect balance of performance, cost, and manageability.
- 40-foot Masts (and Taller): A 40 foot antenna mast will certainly give you better performance, especially on the lower bands like 80 meters. However, this extra height comes with a significant increase in cost, weight, and complexity. Masts this tall are heavier, harder for one person to handle, and almost always require a more robust mounting solution and multiple levels of guy wires to be safe. It’s a fantastic upgrade, but not the ideal starting point for a first-timer.
Comparing Mast Materials & Types for Your First Station
Now let’s look at the different types of masts you’ll encounter, keeping our four key criteria in mind.
Deployment Type: Push-Up vs. Crank-Up
First, how do you get it up? Most beginner masts are “push-up” or telescoping masts, where you extend each nested section by hand and lock it in place with a friction clamp or twist-lock. They are simple, lightweight, and fast to deploy. In contrast, a crank up telescopic antenna mast uses a winch and steel cable system to raise the sections. They can handle much heavier loads but are far more expensive, heavier, and typically used for more permanent or heavy-duty installations. For a beginner, a push-up telescoping mast is the clear choice.
Material Comparison
- Fiberglass (The Smart Choice):
- Pros: It’s non-conductive, has an excellent strength-to-weight ratio, is completely weatherproof, and is incredibly affordable.
- Cons: Can be slightly less rigid than metal at extreme heights.
- Best Use Case: Supporting wire antennas (dipoles, end-feds, verticals) for home and portable use. The ideal choice for 95% of beginners.
- Aluminum (The Traditional Choice):
- Pros: Very strong and rigid.
- Cons: Conductive, heavy, and requires a more significant mounting base. More expensive and prone to corrosion if not maintained.
- Best Use Case: Permanent home installations intended to support heavier antennas like small directional Yagis or rotators.
- Carbon Fiber (The High-End Choice):
- Pros: Incredibly strong and lightweight.
- Cons: Prohibitively expensive, conductive, and can be brittle, meaning a sudden impact could cause it to snap rather than flex.
- Best Use Case: Specialty applications like ultra-lightweight SOTA (Summits on the Air) activations where every ounce counts.
- PVC (The DIY Question):
- Can PVC pipe be used for an antenna mast? While tempting due to its low cost at the hardware store, PVC is a poor choice for a primary mast. It is not UV-resistant and will become brittle and crack in the sun. It also sags over time under its own weight (a process called “creep”).
- Best Use Case: A quick, temporary support for a very lightweight antenna for a single weekend camping trip, and nothing more.
The Expert’s Recommendation: The 30′ Telescoping Fiberglass Mast
As an experienced amateur radio operator, I’ve seen countless beginners get frustrated or waste money on impractical solutions. The clear winner for a first mast is a telescoping fiberglass model around 30 feet high. It hits the sweet spot of performance, cost, and ease of use.
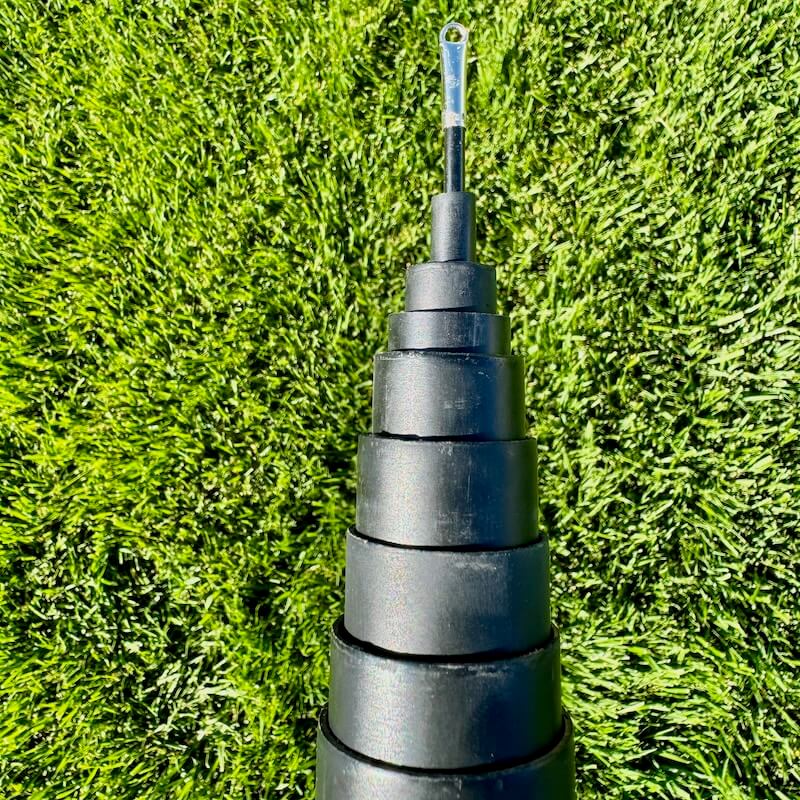
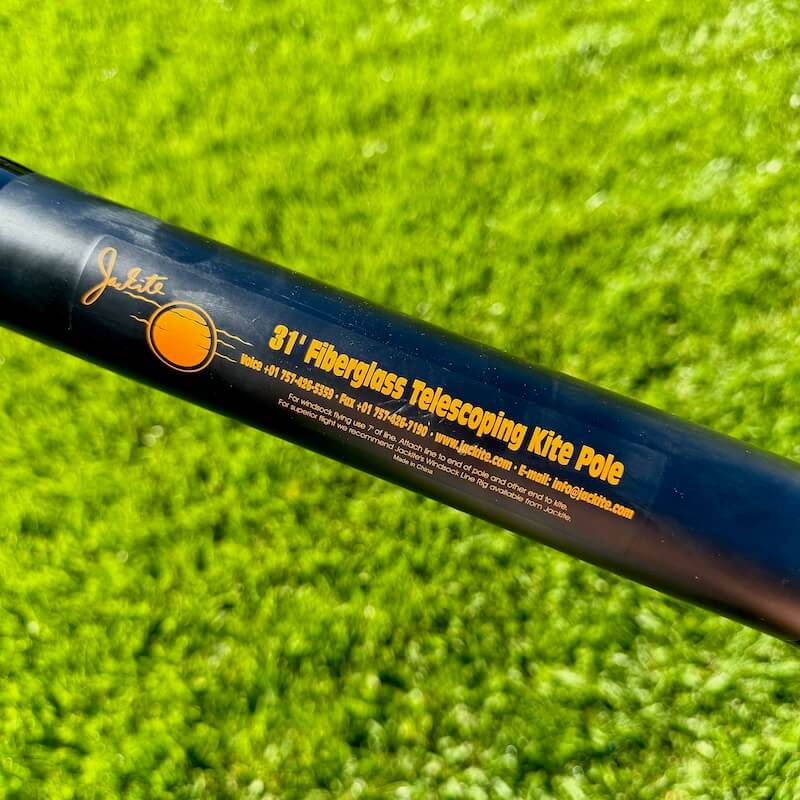
A prime example of this is the Jackite Thick Tip Fiberglass Antenna Pole (31 ft). It perfectly hits that 30-foot height, giving you the performance you need for HF in a package that’s easy to manage and remarkably affordable. Its telescoping sections are simple friction-locks—you just extend and twist. The tip section is intentionally thick and durable, specifically designed to handle the stress of supporting a wire antenna without splitting. It’s the definition of a smart, practical investment for a new ham.
Practical Questions for New Ham Operators
Can HOAs ban ham radio antennas?
This is a major concern for many hams. The FCC has a rule called PRB-1 which directs local governments to reasonably accommodate amateur radio operations. However, Homeowner Associations (HOAs) are often a gray area. The good news is that these rules typically apply to large, permanent structures. A temporary, push-up mast like the Jackite that you can easily take down is often fully compliant where a 50-foot tower would not be. The best approach is to start small and be a good neighbor. Use a non-permanent mount and see how it goes before considering anything more permanent.
How far will a 200 watt ham radio transmit?
This depends on many factors: the frequency you’re using, the type of antenna, and atmospheric conditions (the “ionosphere”). However, the height of your mast is the single most important factor you can control to maximize your station’s reach. Getting your antenna up 30 feet on a fiberglass mast will make your 100 or 200 watts perform infinitely better than if the same antenna were only 10 feet off the ground.
Note: This guide focuses on base station masts for your home or portable use. An “antenna mast on a car” is a different type of mount designed specifically for mobile operation.

Getting your first HF station on the air is a huge Adventure. Ultimately, the right mast is the key that unlocks your ability to make a Connection with the worldwide ham community. This process, in turn, allows you to be fully Present in the moment, tuning across the bands and listening for that faint signal from a country you’ve only read about. In the end, that’s the real magic of ham radio, and it all starts with getting your antenna in the air.