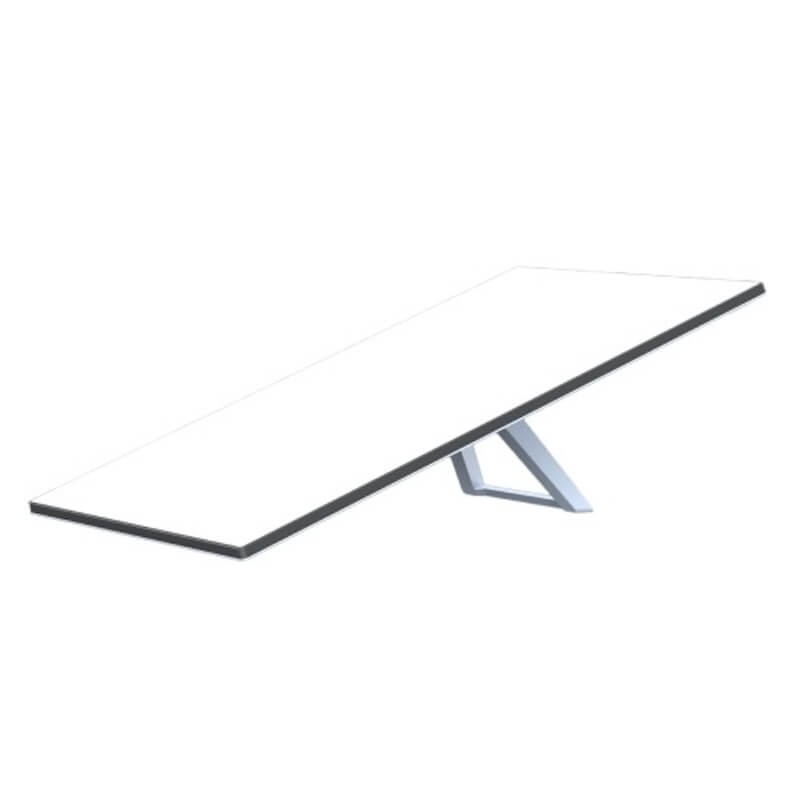
Quick Answer for RVers: To get reliable, high-speed Starlink internet in your RV, you need three things: an active unlimited plan (which you can score a free month of using a referral link), a Standard Gen 3 dish for maximum data speed, and a specialized heavy-duty RV pole mount. Upgrading from flimsy DIY PVC mounts to a structural steel pole kit ensures a secure, internally wired, maintenance-free connection that withstands harsh off-grid weather.
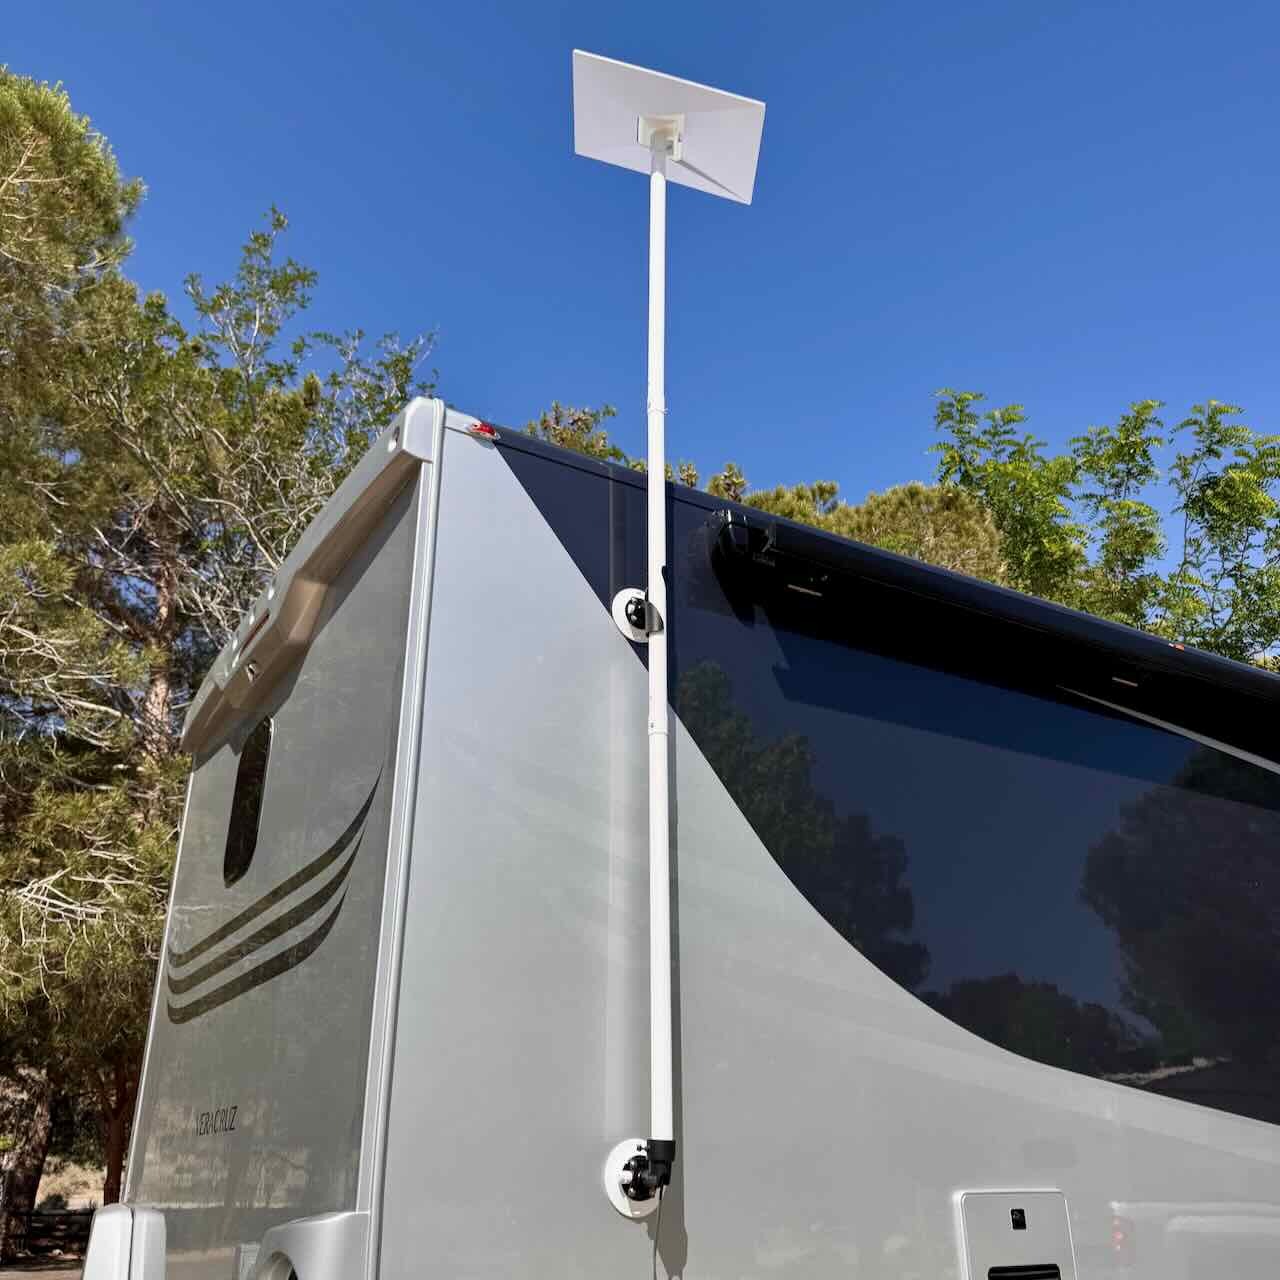
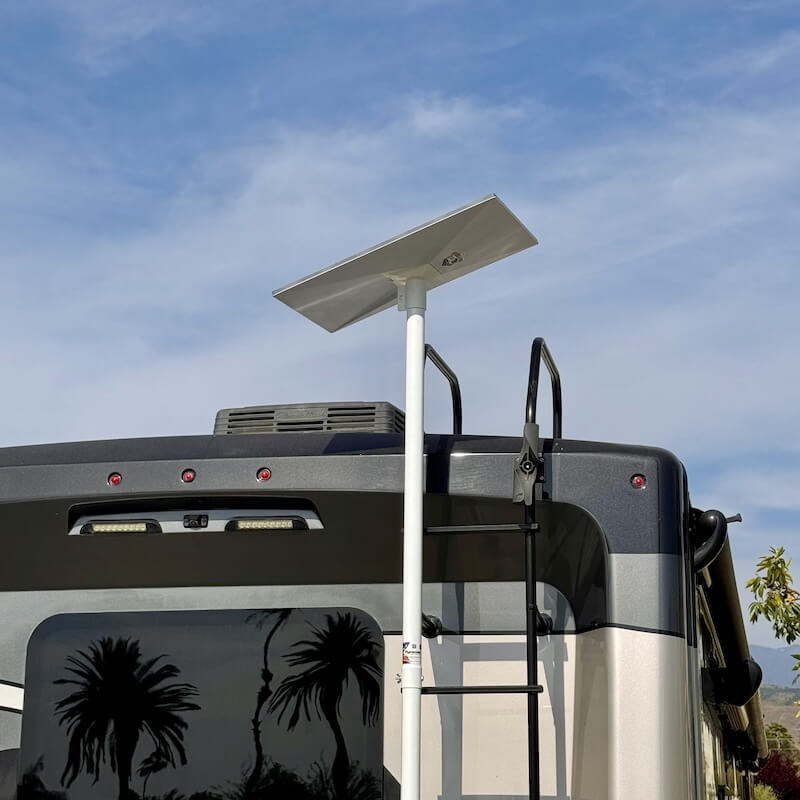
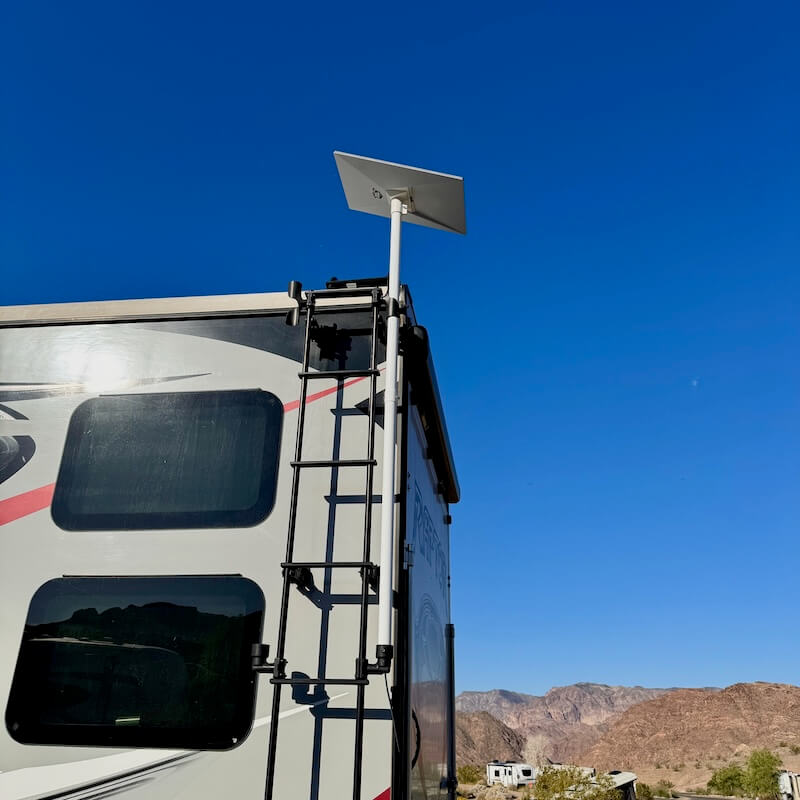
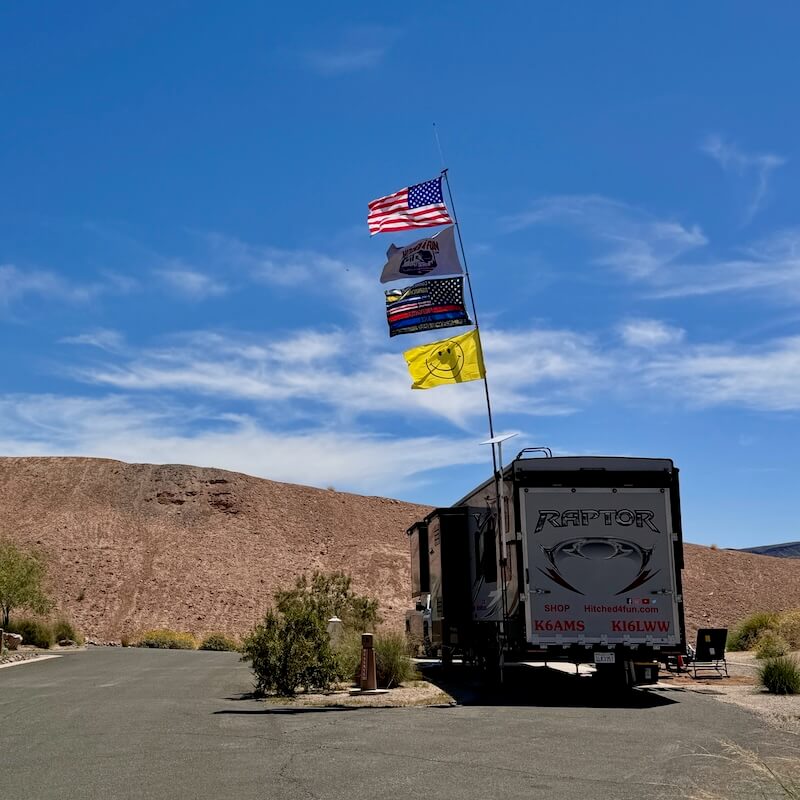
If you are a Weekend Warrior, a full-time Digital Nomad, or a dedicated Ham Radio enthusiast heading to Quartzfest, you already know that staying connected off-grid used to be a massive headache.
In our three decades on the road—living the “Built by RVers for RVers” philosophy—we have watched the transition from bulky, expensive satellite domes to the sleek efficiency of Starlink. We believe that true Adventure requires the confidence to roam, Connection means sharing those moments with family without buffering, and Presence means setting up your gear in five minutes so you can actually enjoy the campfire.
If you are navigating the chaotic world of Starlink dishes, service plans, and mounting options, this is your definitive source of truth.
How Do I Choose the Right Starlink Dish for My RV?
A common debate among boondockers is whether to buy the Starlink Mini or the Standard Gen 3 (often called the 4X).
If you are confined to a very small rig or overland vehicle where every square inch matters, the Mini is a solid piece of gear. However, if you are serious about your data speed, signal strength, and running a seamless RV Wi-Fi routing network, go with the larger Standard Gen 3 dish.
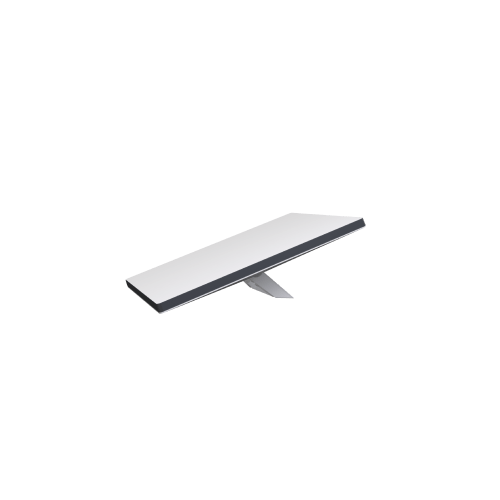
After testing these units at events like Quartzfest and deep in the backcountry, the Standard dish vastly outperforms the Mini in heavy canopy cover and bad weather. For a deeper dive on this, check out our complete breakdown on why the Starlink Mini dish is not the best choice for all RVers.
| Feature | Starlink “Mini” Dish | Starlink “Standard 4X” | The Hitched4fun Advantage |
| Hardware Price | $249 | $349 | Standard 4X offers superior range. |
| 100GB Roam | $55/mo | $55/mo | Perfect for weekenders. |
| 300GB Roam | $80/mo | $80/mo | Specifically for the part-time RVer. |
| Unlimited Roam | $175/mo | $175/mo | Essential for full-time digital nomads. |
| Signal Strength | Moderate | Superior | Standard 4X handles trees better. |
| WiFi Coverage | 1,200 sq ft | 3,200 sq ft | Reach the whole site with the 4X. |
| Mounting Need | 6ft Steel Pole | 6ft Steel Pole | In fact, both need elevation to shine. |
How Can I Get a Free Month of Starlink Service?
One of the biggest secrets the major telecom sites won’t tell you is how to game the sign-up process. When you activate an unlimited Roam plan, you don’t have to pay full price out of the gate.
Pro-Tip: You can save an entire month on your service contract—that is up to $175 in “free money”—simply by signing up using a unique referral link. [Click here to use our referral link and claim your free month of high-speed service.]
Why Do I Need a Dedicated Starlink RV Pole?
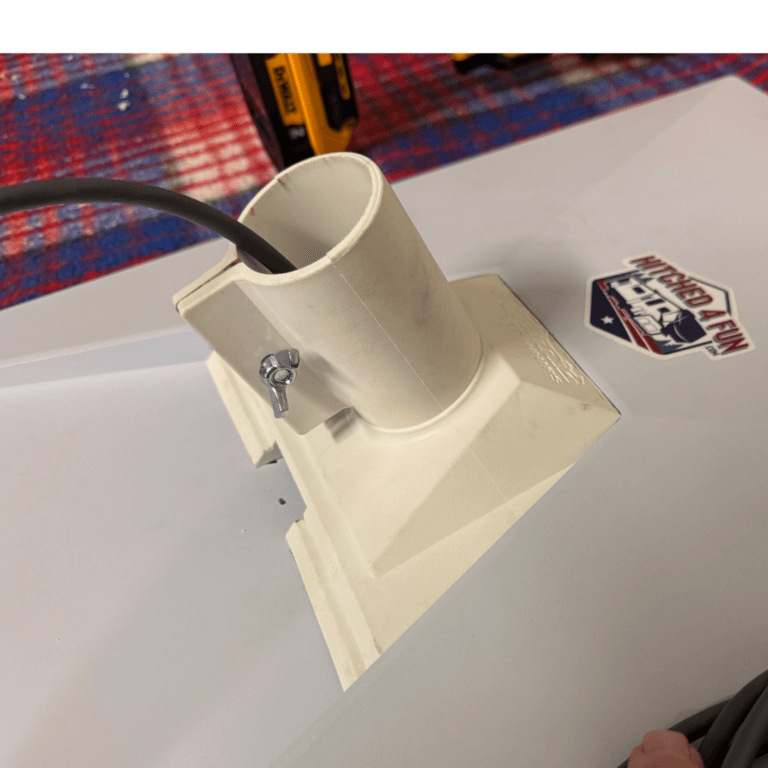
Big-box stores and sketchy online forums will try to convince you that a few PVC pipes and zip ties are “good enough” for an overland adventure. They aren’t.
We engineered the Hitched4fun Starlink RV Pole around a modernization angle: transitioning away from high-maintenance, fragile materials like flimsy plastics or rusting aluminum. We use premium fiberglass and structural steel. Here is why specialized gear matters:
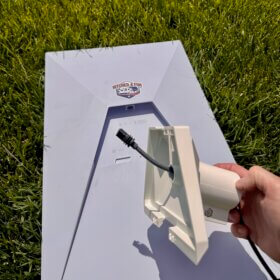
- Internal Pole Wiring: Don’t settle for external wires and plastic clips. Running cables on the outside of your pole is unnecessary, unsightly, and incredibly noisy when the wind picks up. Our pole kit allows you to run the wiring directly inside the tube.
- Real-World Tested: Whether you are boondocking in the desert or waiting out a storm on the coast, fiberglass won’t snap under pressure or corrode in salt air.
- Clear The Canopy: Getting your dish above the RV roofline is crucial for clearing low-hanging branches and avoiding signal obstructions.
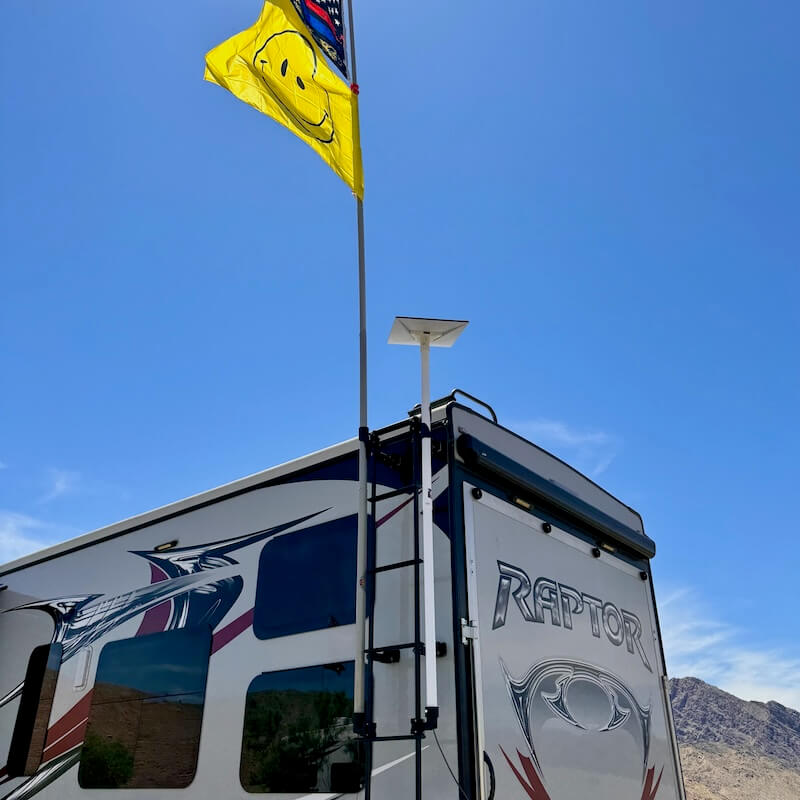
Easy Starlink RV Pole Kit Install | Step-by-Step Demo by Hitched4fun.com 4K
How Do I Build a Complete Remote Entertainment Setup?
Getting the dish mounted is only step one. For a true Weekend Warrior, having a reliable internet connection means unlocking Wi-Fi phone calls, remote work capabilities, and streaming TV no matter where you park.
If you want to seamlessly integrate your new Starlink setup into a full-coach network, we simplify the entire process. Read our comprehensive guide on How to Get Internet and TV in Remote RV Locations to turn your rig into a fully functional digital hub.
The Hitched4fun Difference
When you are out off-grid camping, the last thing you want to deal with is automated customer service loops or gear that breaks on day two. At Hitched4fun, we stand by a strict “No Bots” policy. If you have a question about mounting your Starlink to a unique pyramid ladder or tongue jack, real humans—who actually RV—are here to help from 8 AM to 5 PM PT.
Stop wrestling with clunky setups and start enjoying your time on the road. Get your Starlink RV Pole Kit today and experience the peace of mind that comes with premium, field-tested equipment.
-
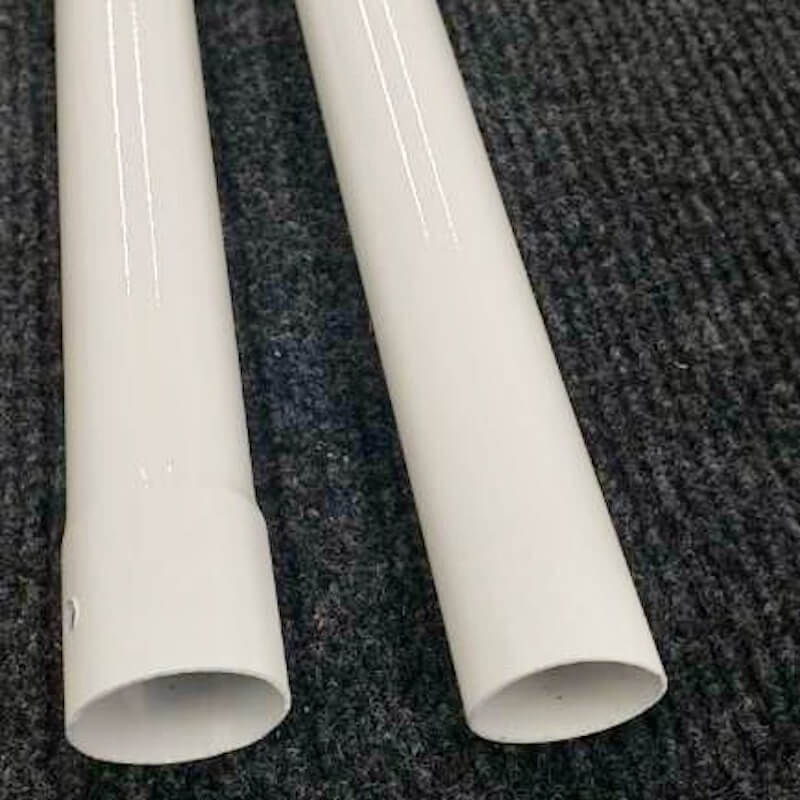
Starlink RV Pole Extension
$49.95 -
Starlink RV Pole Kit
Price range: $149.95 through $329.95 -
Starlink RV Pole Only
Price range: $139.95 through $149.95 -
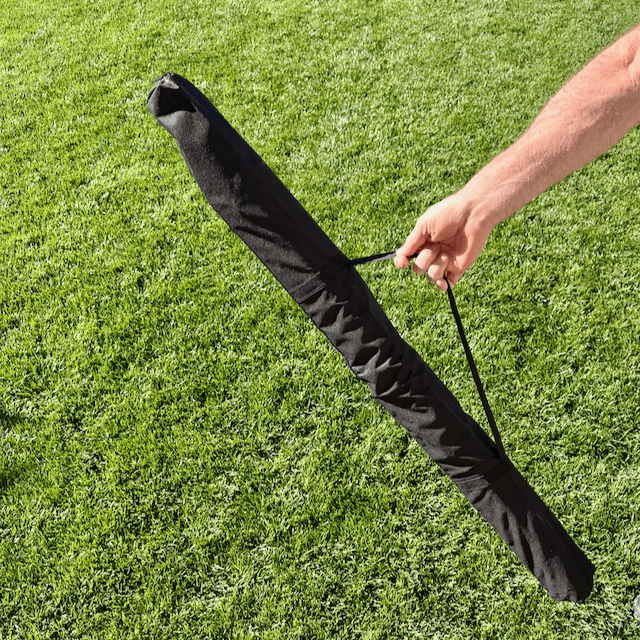
Starlink RV Pole Bag
$29.95
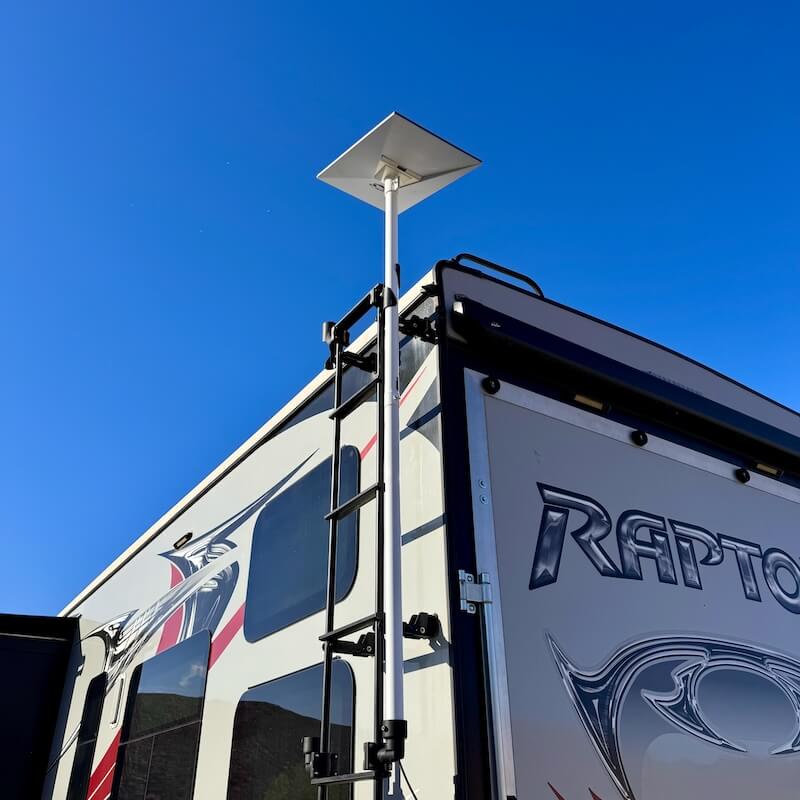
Starlink Hardware & Mounting FAQs
Yes, absolutely. We specifically engineered our mounting brackets to be universally adaptable. Whether your rig has a standard vertical ladder, or you prefer a tongue jack mount on a travel trailer, our heavy-duty structural steel brackets lock down tightly without needing to drill sketchy, permanent holes into your RV.
External wiring might seem easier at first, but it is a massive headache on the road. Exposed cables are highly vulnerable to snagging on low-hanging branches during setup. Furthermore, loose cables act like a sail in high winds, causing an incredibly loud, annoying flapping noise against your RV wall or pole when you are trying to relax. Internal routing keeps your expensive Starlink cable 100% protected and completely silent.
We built this specifically for Weekend Warriors who want to maximize their time off-grid rather than wrestling with gear. Initial bracket installation takes about 10–15 minutes. After that, deploying or taking down the steel pole takes less than 60 seconds. You simply slide the pole into the brackets, secure the pins, and you are ready to stream or pack up and hit the highway.
Starlink Hardware & Mounting FAQs
While the Starlink Mini is incredibly compact and works great for minimalist, small-space setups, it features a much smaller antenna array. In optimal, wide-open conditions, both can hit high speed internet thresholds. However, when you are off-grid camping under heavy tree canopy or facing severe weather, the Standard Gen 3 dish provides significantly better signal attenuation, faster overall data speeds, and fewer dropped Wi-Fi phone calls.
When you use a unique referral link to sign up for an active, unlimited Starlink Roam plan, Starlink automatically applies a credit to your account equal to one month of service (up to a $175 value) once you’ve been active for 30 days. It is essentially free money for the hardware or data plan just for being part of the community—but you must use the referral link during your initial checkout.