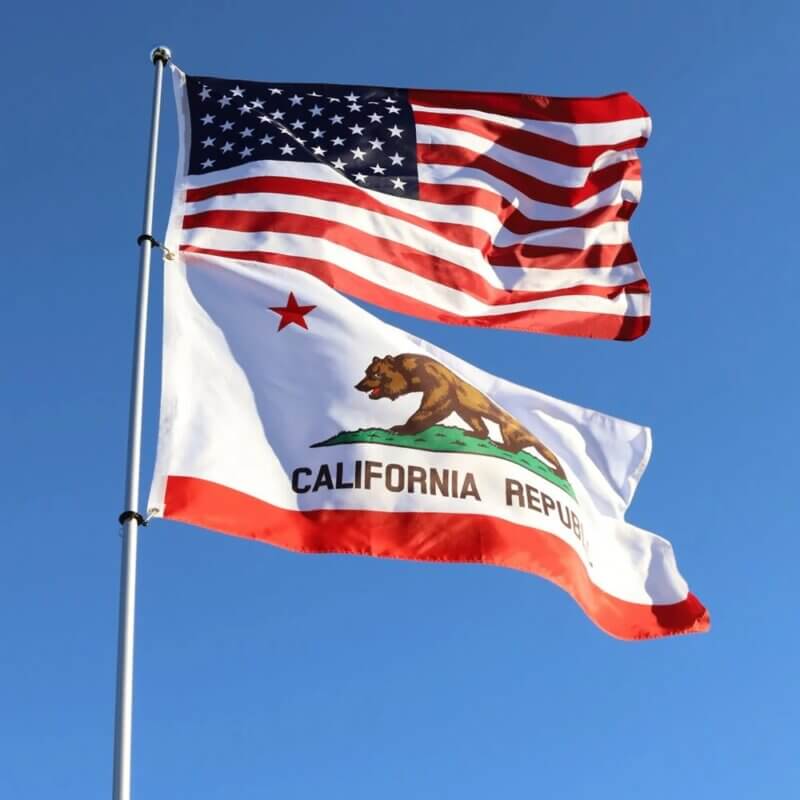
Congratulations on your new Deluxe 22-foot flagpole! You’ve chosen a premium, heavy-duty pole designed for years of reliable service. To ensure you have a perfect, worry-free experience on every trip, we’ve created this comprehensive guide how to set up your RV Flag Pole to walk you through the proper setup—from securing the pins to correctly placing the flag rings.
Let’s get your colors flying high!
Part 1: The Foundation – Extending the Pole & Inserting the Pins
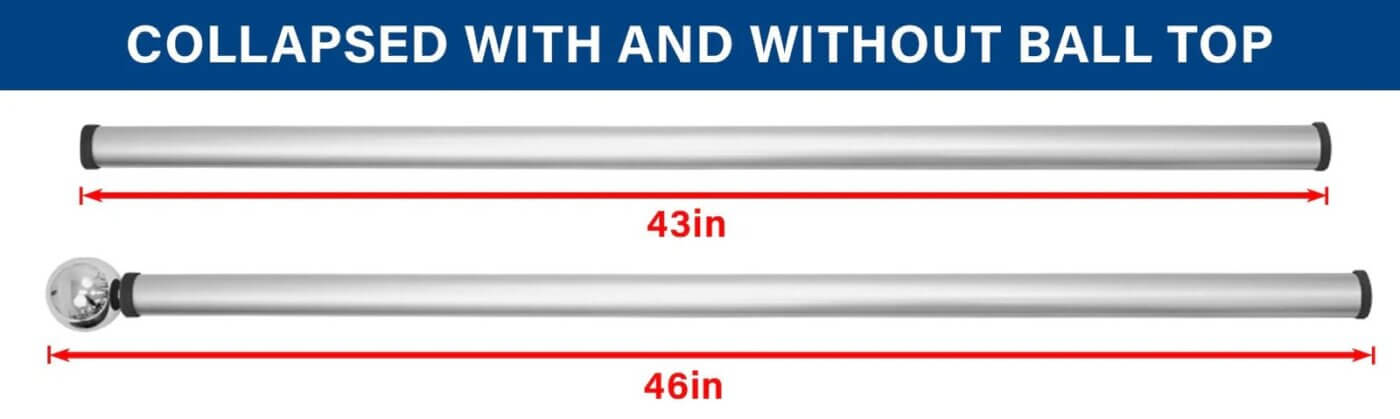
Your pole is made up of 7 sections, with the smallest top section being #1 and the largest bottom section being #7. The correct setup process is easy and ensures a stable, secure foundation every time.
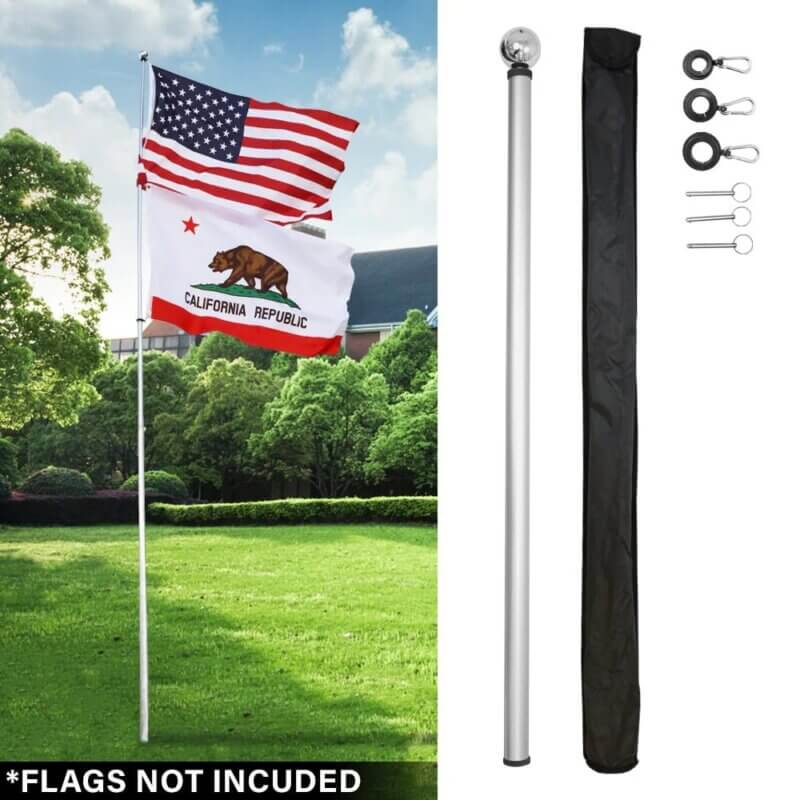
- Place the Base: Start by placing the base of your fully collapsed pole into its holder (e.g., tire mount, hitch mount).
- Extend from the Top: Begin extending the pole by pulling up the smallest, top section (#1) until it’s fully extended.
- Continue Extending: Proceed to extend each following section (#2, then #3, and so on) until the entire pole is at its full height.
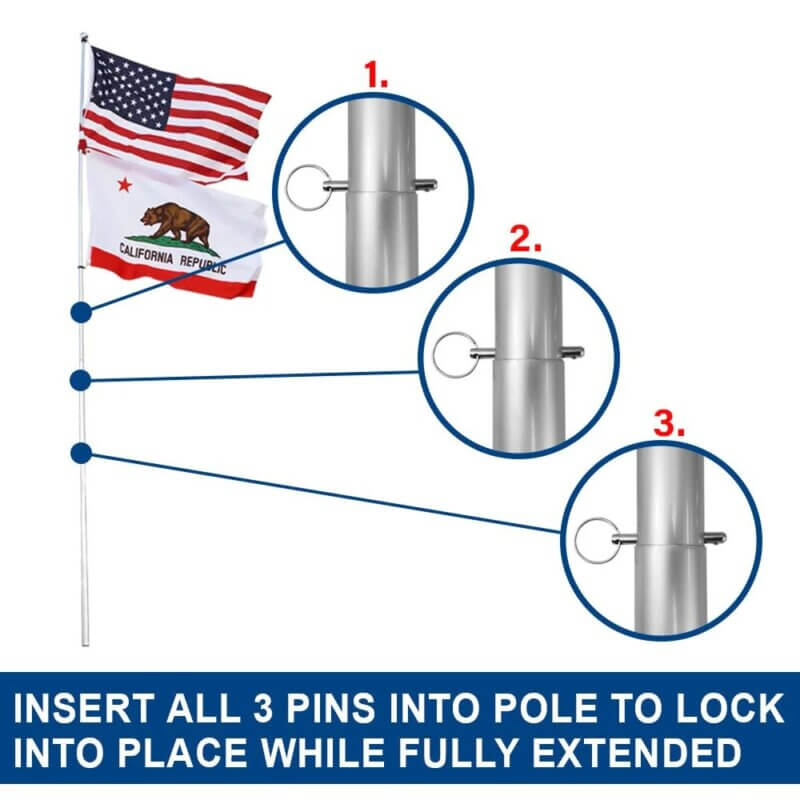
- Expose the Pin Holes: Now, locate the pre-drilled holes on the three largest bottom sections: #4, #5, and #6. If a hole isn’t visible, simply extend that section a little further until the hole is fully exposed.
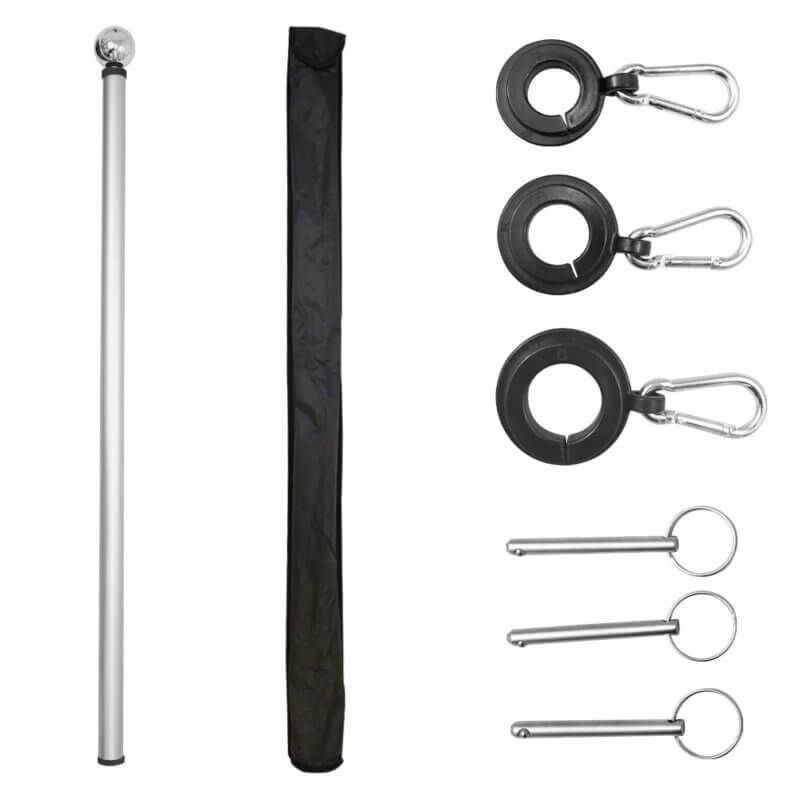
- Lock it In: Once the holes are visible, firmly slide one of the included metal locking pins through each of the three holes.
With these three pins in place, your pole has a rock-solid foundation that is mechanically locked and incapable of collapsing.
Part 2: Installing Your Flag Rings Step-by-Step
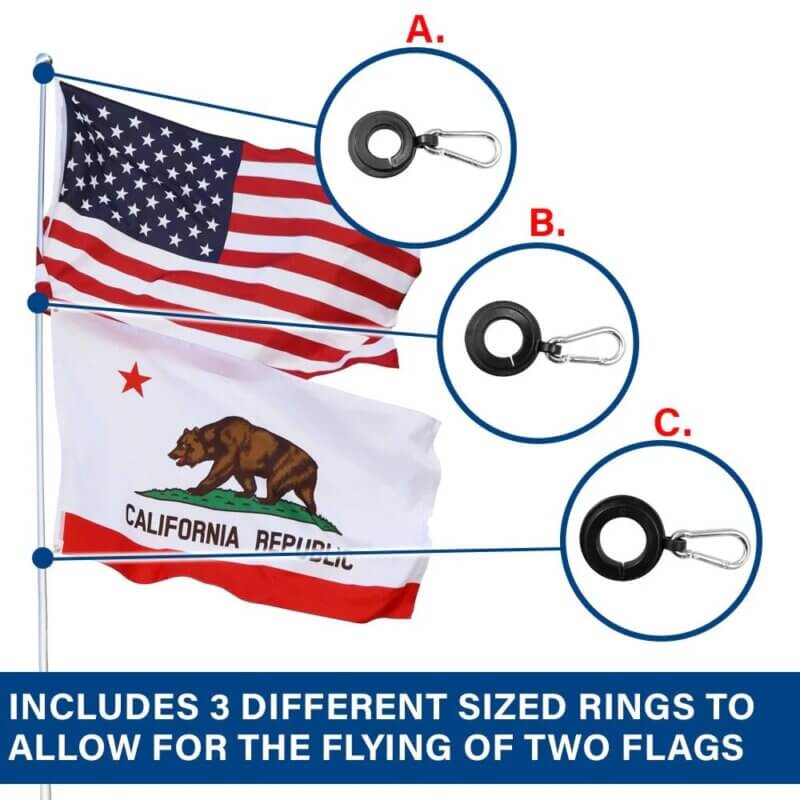
To fly your flags perfectly without tangles or damage, the four included rings must be installed in a specific order before you attach your flags or the chrome ball on top. Each ring is sized for a specific pole section.
Installation Steps:
- Lay your extended flag pole on the ground or over a picnic table.
- Largest Ring First: Take the single Largest Ring and slide it over the top of the smallest pole section (#1). Guide it down the pole and position it at the bottom of section #2, approximately 72 inches from the top of section #1. This ring will hold the bottom of your second flag.
- Medium Rings Next: Take the two Medium Rings and slide them onto the pole. Position both of these rings side by side on the bottom of section (#1). For a standard 3’x5′ flag, you should space them about 36 inches from the top of section #1. These will hold the bottom of your first flag and top of your second flag.
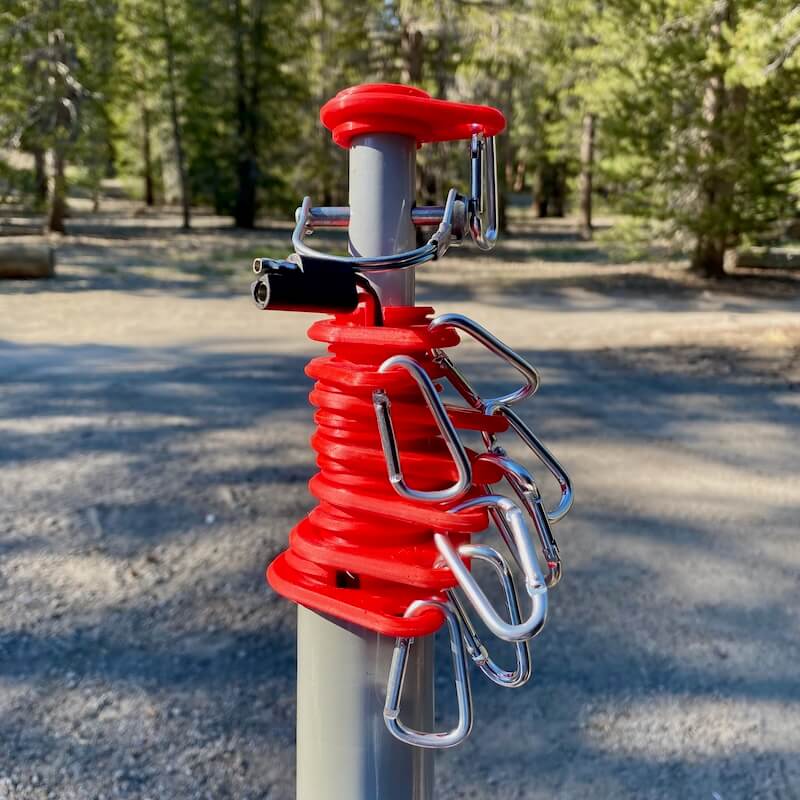
- Smallest Ring Last: Finally, slide the Smallest Ring on last. This ring should sit at the very top of the pole, on section #1 or be placed on the peg of the chrome ball that is insert into the top of the pole. This will hold the top of the your first flag.
- Attach Clips & Flags: Once all four rings are in their correct positions, you can attach the flag clips that are attached to the rings and then attach your flags.
- Hoist the entire flag pole with installed pins, rings, and flags into your mount.
Following this largest-to-smallest installation order ensures the rings slide on easily without getting stuck.
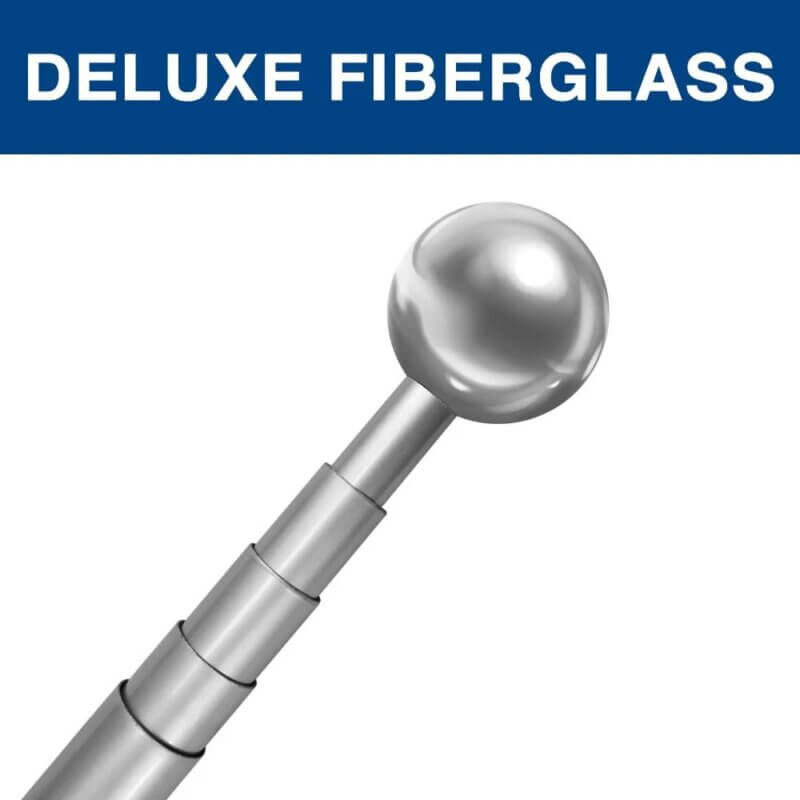
IMPORTANT PRO-TIP: Each ring is designed to fit its specific pole section perfectly. Please do not try to force a smaller ring onto a larger, thicker section of the pole. This can cause the ring to crack or damage the fiberglass of the pole itself.
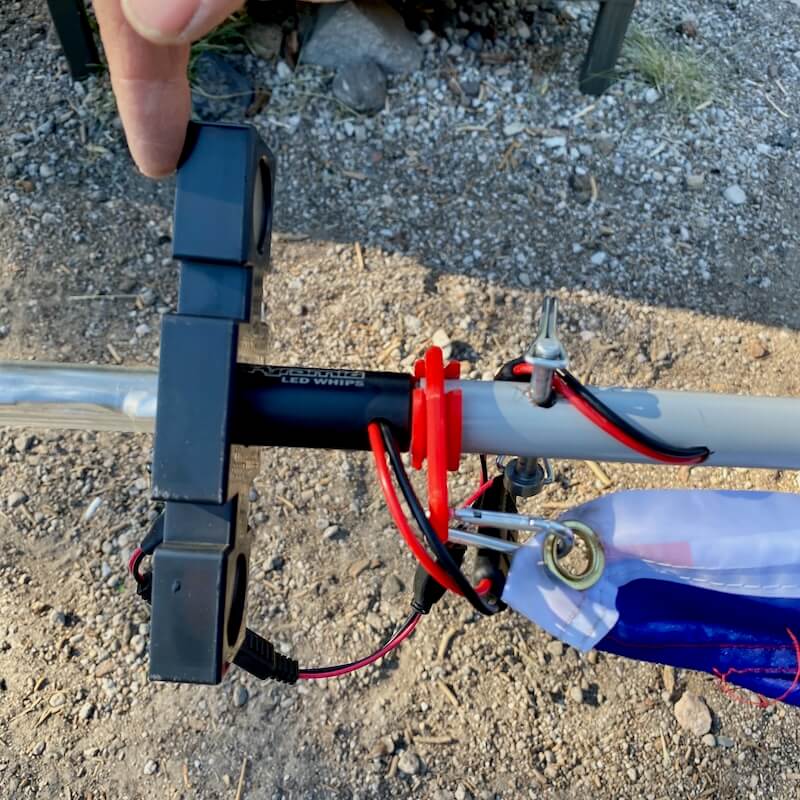
Part 3: Advanced Setups – Adding Lights and Extra Pins
Want to add a solar light, downlight, or camp locator to the Hitched4fun flagpole? Do you want to fly up to four flags at the same time? You can. These are all fantastic upgrades that makes your campsite stand out! Here’s how to do it the right way to avoid any issues.
The Challenge: Adding an accessory to the top of the pole often involves drilling a small hole for wires. Not a big deal. It’s pretty easy to do. This might make you want to move the top flag ring down to make space, which can throw off the spacing for your flags and tempt you to force rings onto the wrong sections. Don’t do that. Keep the original ring placement. Here are some examples of how to place your accessories.
The Expert Solution: When you add the extra weight of an accessory, the absolute best practice is to upgrade to a full pin-lock system.
By adding our Heavy-Duty Safety Pin Upgrade Kit to the upper sections, you make your entire heavy-duty fiberglass flagpole mechanically secure from top to bottom. It’s a simple, 5-minute modification that gives you total confidence, no matter what you mount up top.
-

Locking Pins for RV Flag Pole
$11.95 -
Heavy-Duty Safety Pin 3HKP4 – Easy Upgrade for RV Flag Poles
$3.49 -
RV Dual Flag Pole Ring Set 1-2
$23.95 -
RV Dual Flag Pole Ring Set 3-4
$23.95 -
RV Flag Pole Downlight
$59.99 -
RV Downlight “Y” Cable
$17.95 -
RV Infinity Bluetooth Camp Locator
Original price was: $129.95.$119.95Current price is: $119.95. -
RV LED Camp Locator
Original price was: $109.99.$98.95Current price is: $98.95.


Quick Setup FAQs
For the standard setup using the included parts, you need zero tools! For the optional pin upgrade, you will need a drill to create a small hole in the upper pole sections.
Never use lubricants. Simply wipe down the sections occasionally with a soft cloth and a mild dish soap solution to remove any campsite grit. This keeps the sections gliding smoothly.
Our 22-foot telescoping pole is designed to fly two flags comfortably. Adding more can put excess stress on the pole, especially in windy conditions.
You are now ready to fly your flags with confidence on every trip. Happy Camping!